| Diameter and thread size |
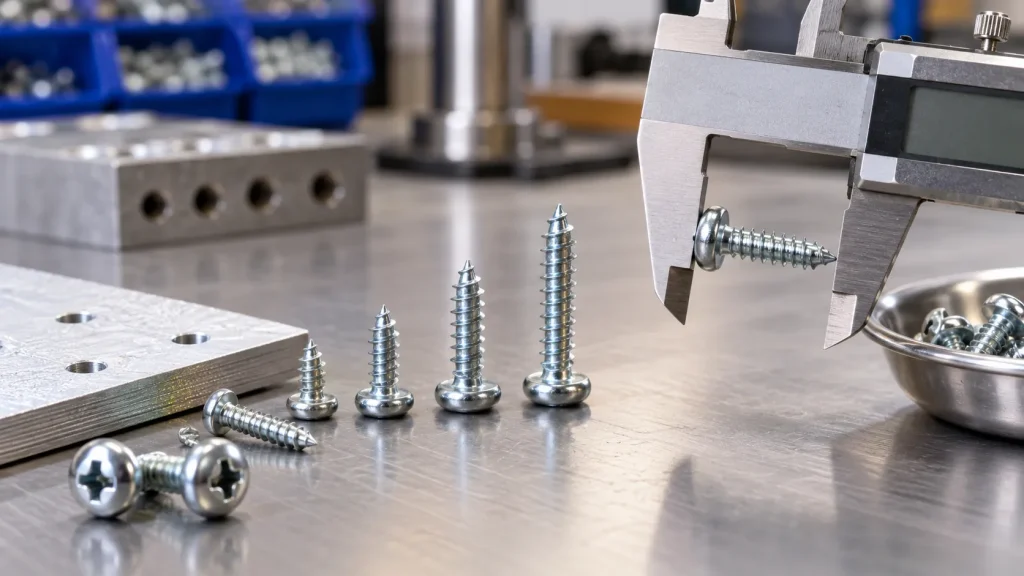
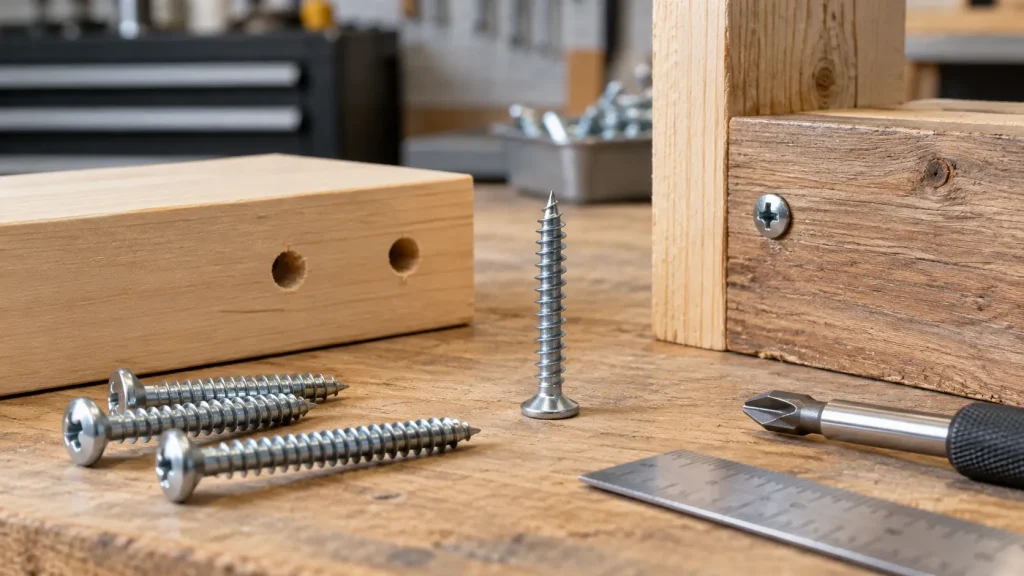
Compare the specified screw gauge or metric diameter with the mating material and any pre-drilled or punched hole size. |
Too small a diameter can strip under load; too large can split timber, deform sheet metal, or make installation slow. |
Ask: What base material and thickness will the screw bite into, and is there already a pilot hole? |
| Length and thread engagement |
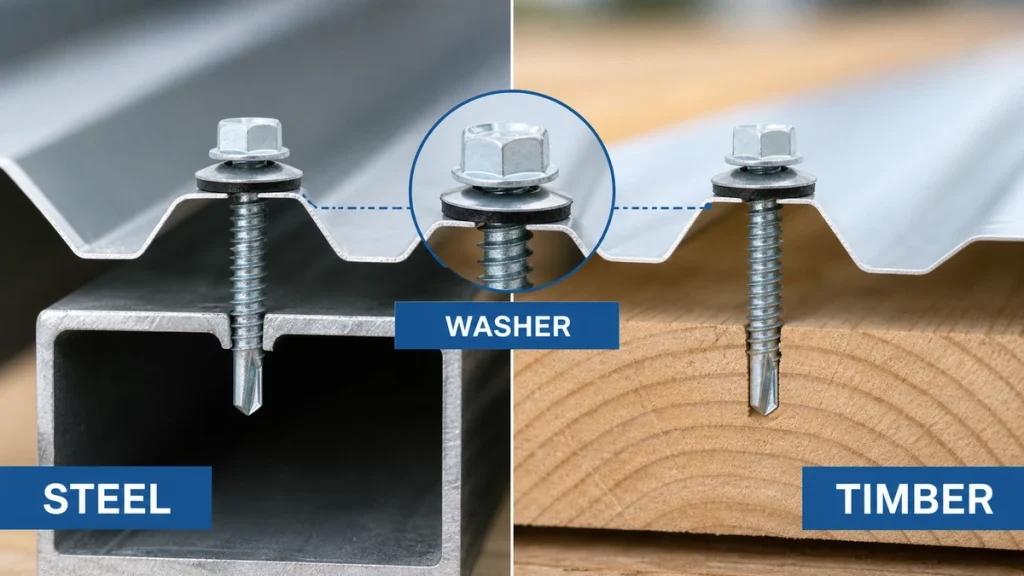
Confirm the total screw length, usable thread length, and how much thread will sit inside the supporting material after passing through washers, panels, brackets, or insulation. |
A screw that only looks long enough may not develop proper grip once all layers are included. |
Ask for a simple stack-up: top material thickness, gap or insulation, washer thickness, and required embedment. |
| Self-tapping or self-drilling point |
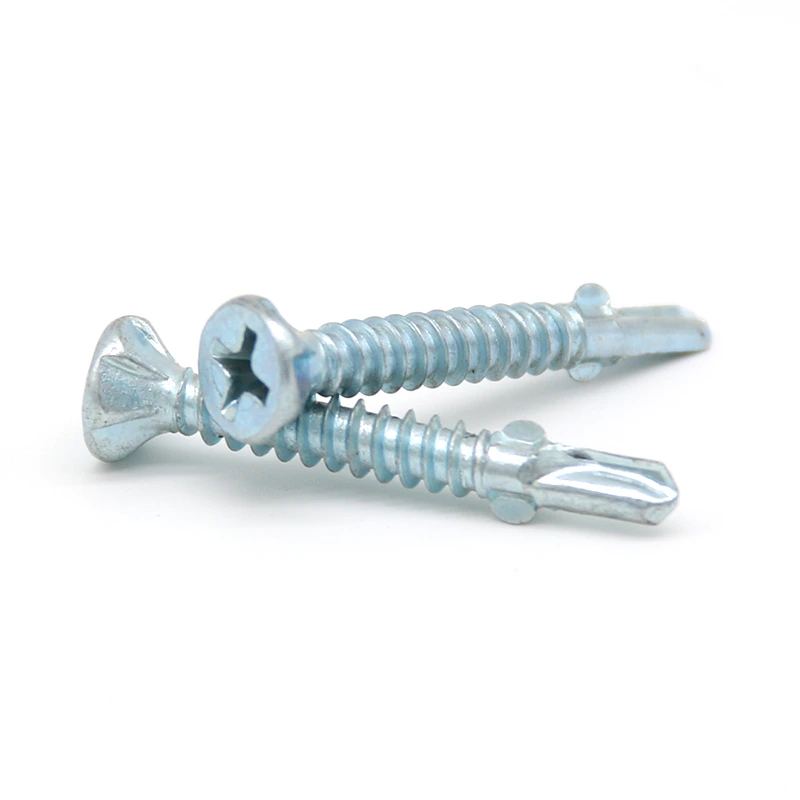
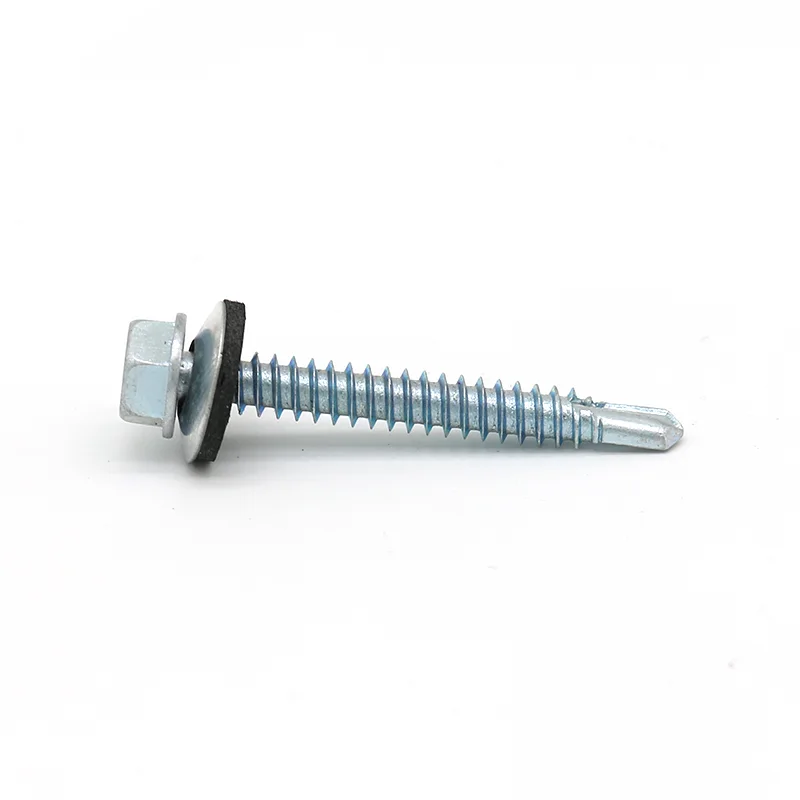
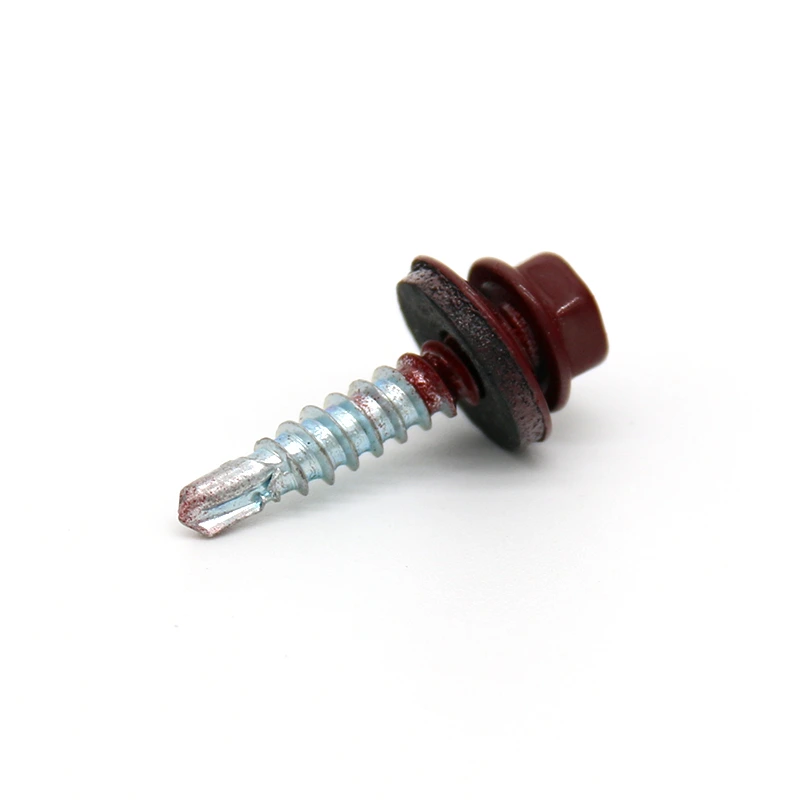
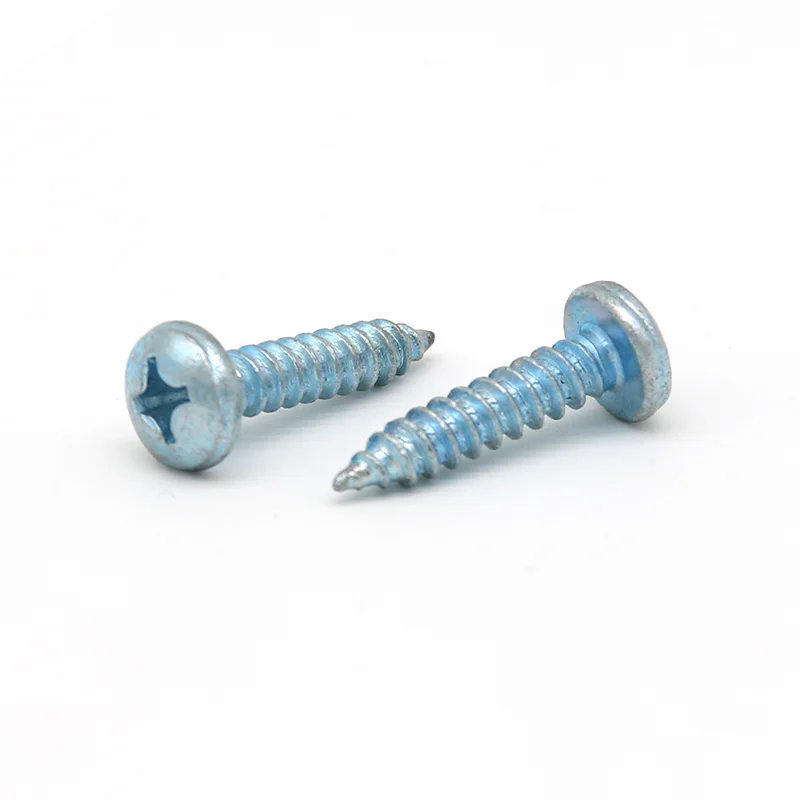
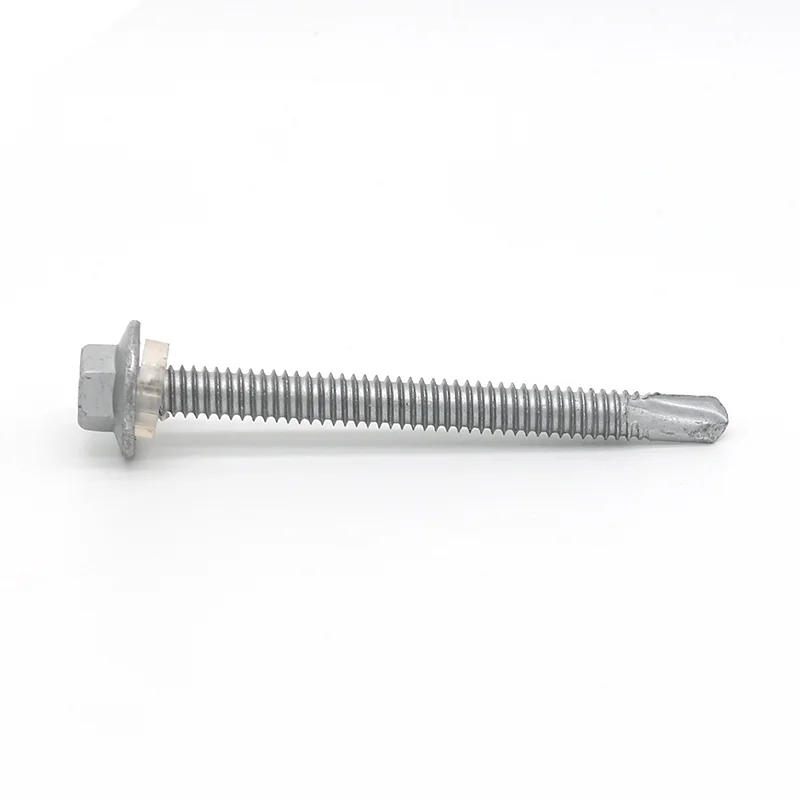
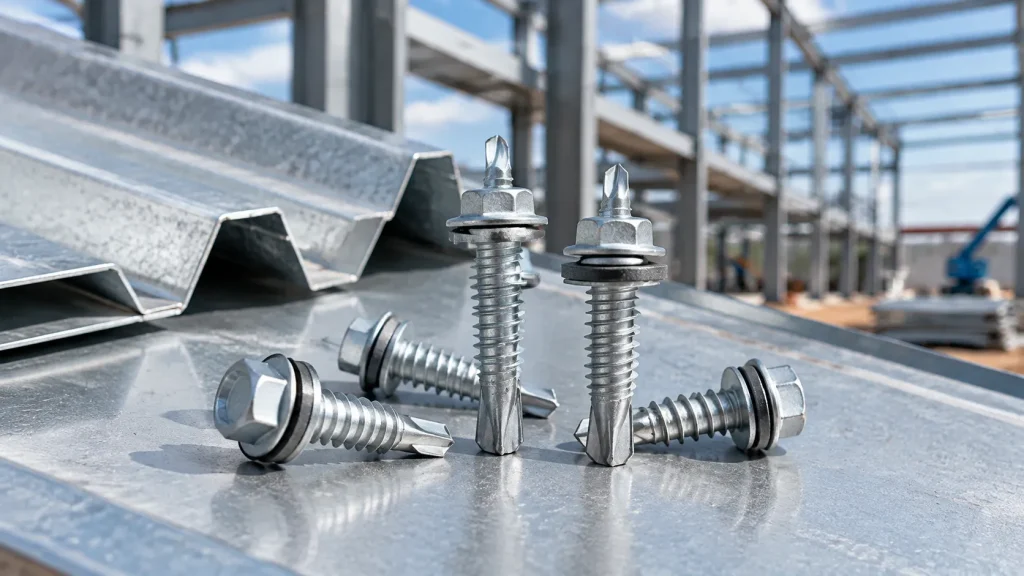
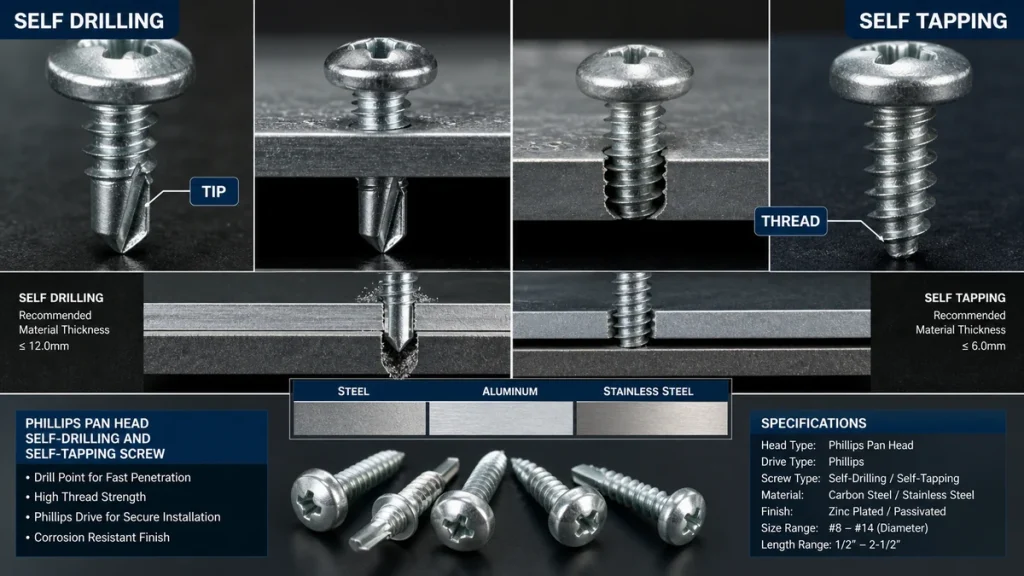
Identify whether the job needs a screw that forms threads in a prepared hole or a drill-point screw that cuts its own hole in metal. |
Choosing the wrong point can cause poor thread formation, burned tips, slow driving, or loose fastening. |
Ask: Will installers drill pilot holes first, or must the screw drill and fasten in one operation? |
| Head style and drive |
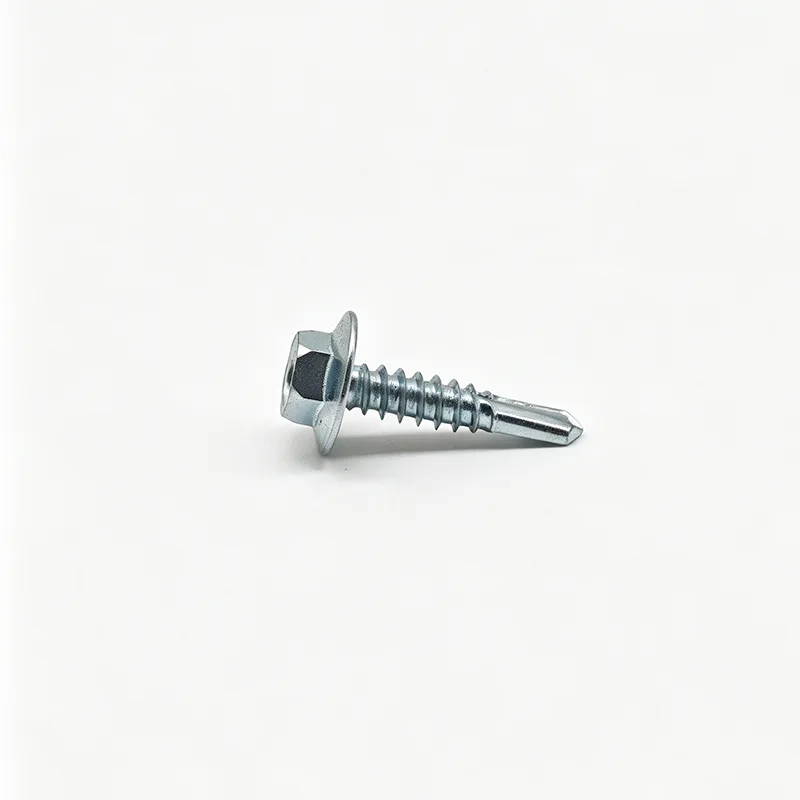
Match hex, pan, countersunk, or other head forms to the tool access, required bearing area, and finished appearance. |
The head controls clamp area, seating, tool engagement, and whether the screw can sit flush or needs to remain proud. |
Ask which driver type the installers use and whether the joint needs a flush surface, washer support, or high clamp area. |
| Coating and exposed environment |
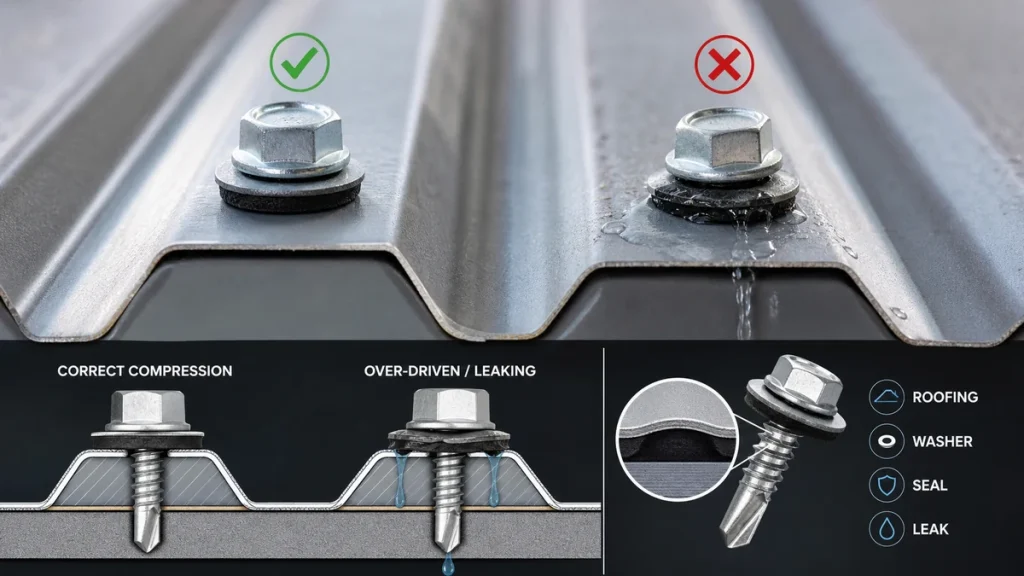
Select the finish according to indoor use, outdoor exposure, roofing, treated timber, or contact with dissimilar metals. |
Coating choice affects corrosion resistance and can also change friction during driving. |
Ask: Will the screws be exposed to weather, moisture, chemicals, or roof runoff after installation? |