| Security drive type and matching tool |
Compare the drive pattern, recess depth, and required installation bit from a drawing or sample. |
The drive controls installation access and how easily an unauthorized person can remove the screw. |
Ask, “Which driver is supplied or recommended, and is removal intended after installation?” |
| Removal resistance and service access |
Confirm whether the design is one-way, tamper-resistant, or removable with a specialist bit. |
A permanent fixing can improve tamper resistance but makes maintenance or replacement more difficult. |
Ask, “How should authorized staff remove the screw without damaging the surrounding panel?” |
| Thread, point, and substrate fit |
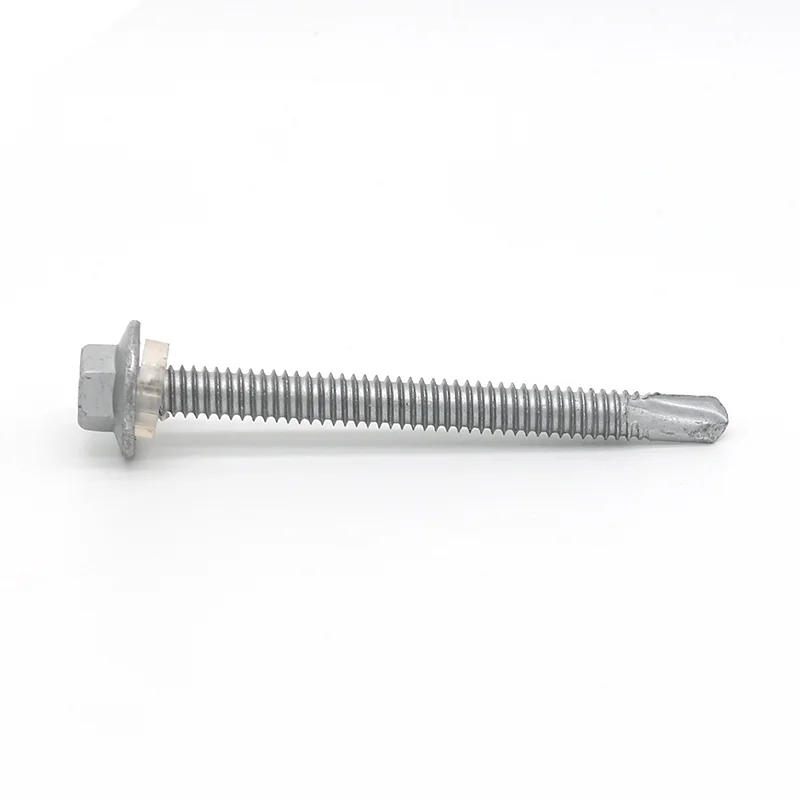
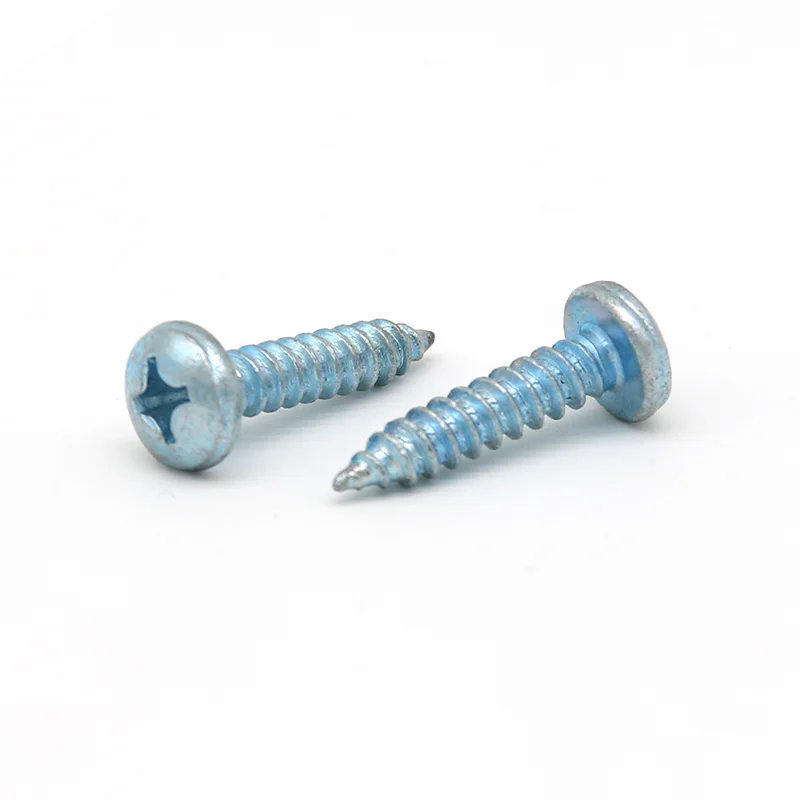
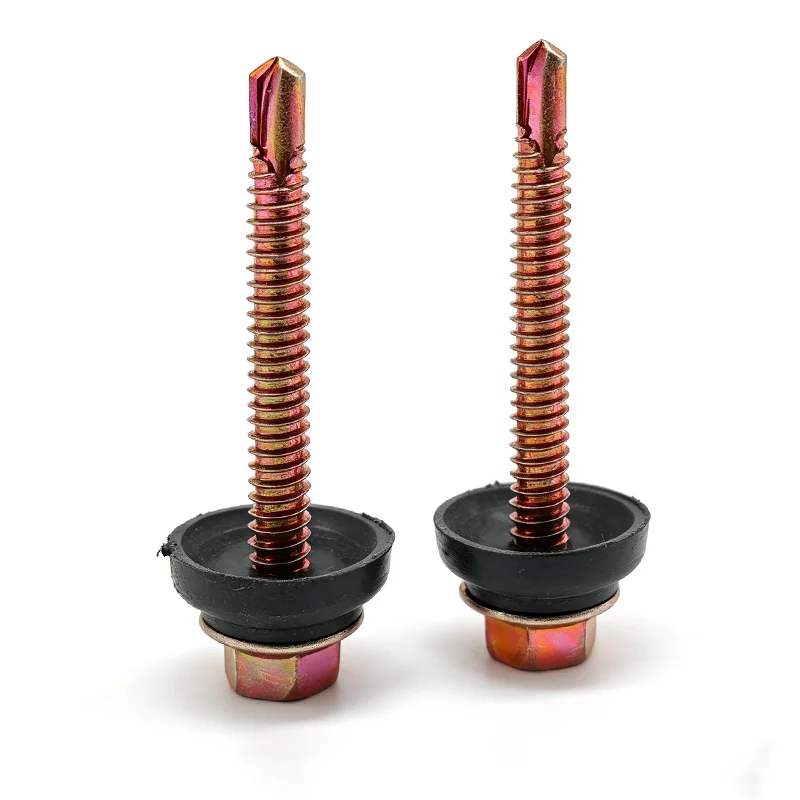
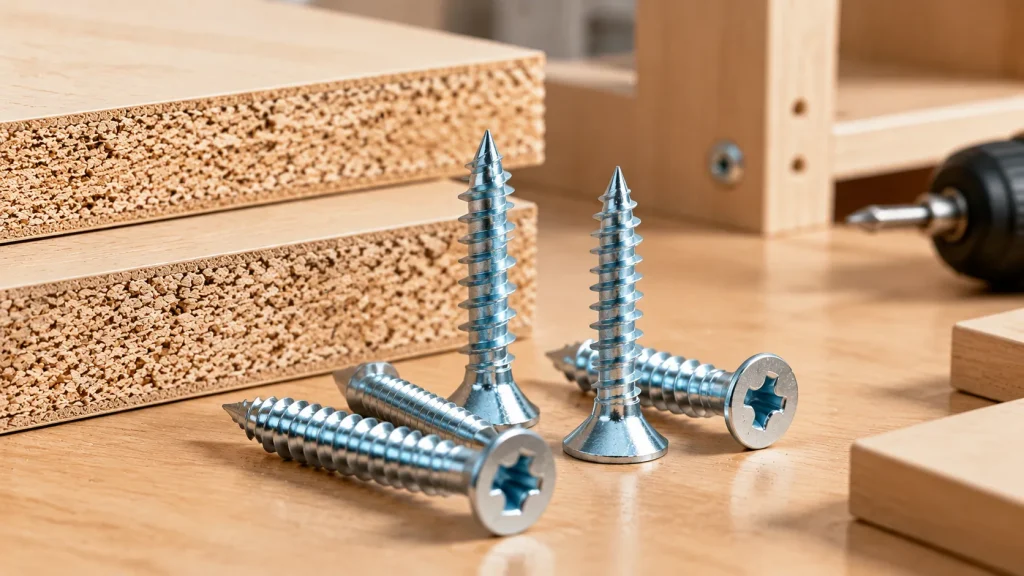
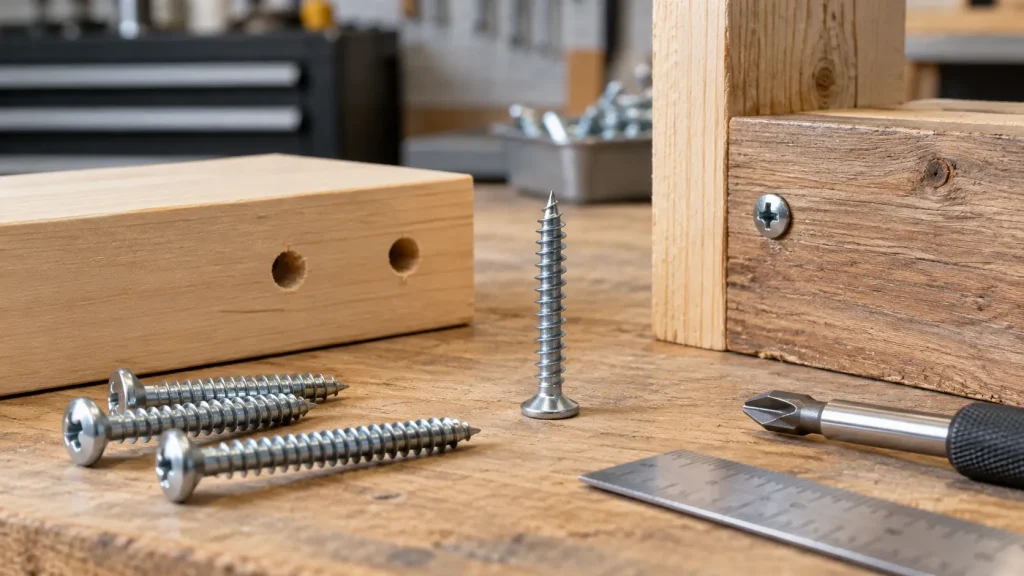
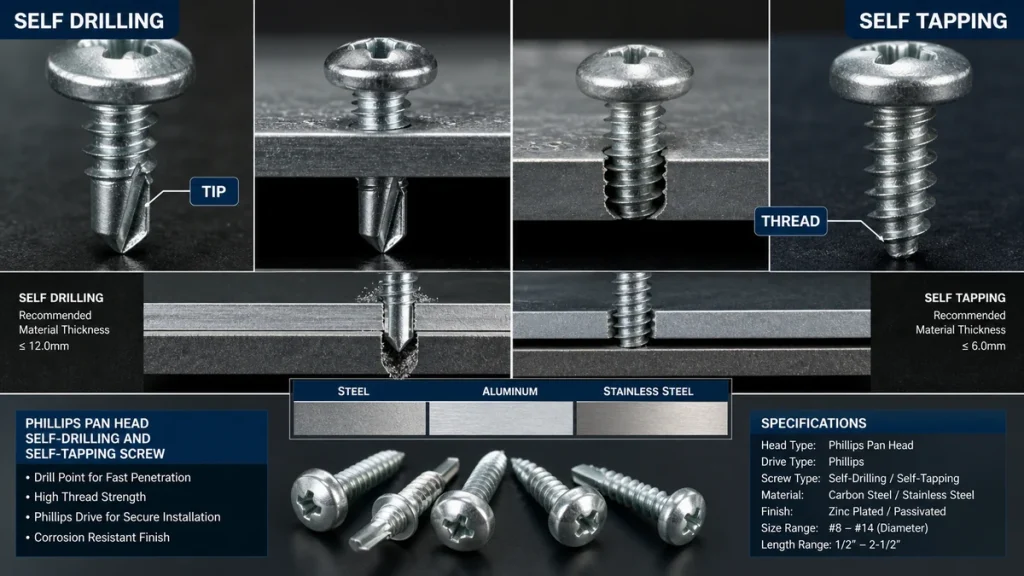
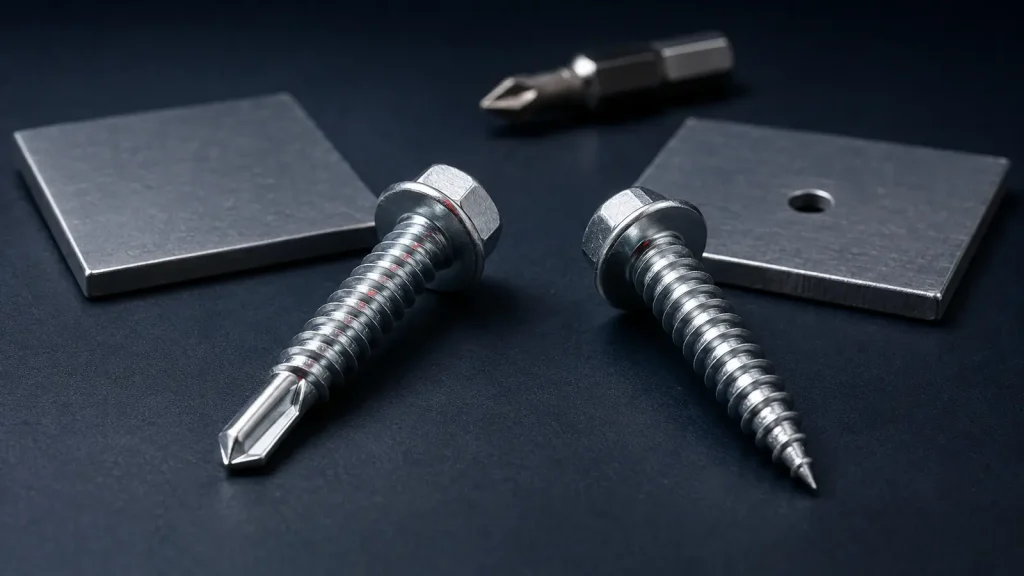
Match the thread form and point to the material being joined, such as sheet metal, wood, or a pre-drilled assembly. |
Incorrect thread engagement can reduce holding power, cause splitting, or leave the fixing loose. |
Provide the substrate, panel thickness, and hole condition, then ask which screw geometry is suitable. |
| Head style, diameter, and seating |
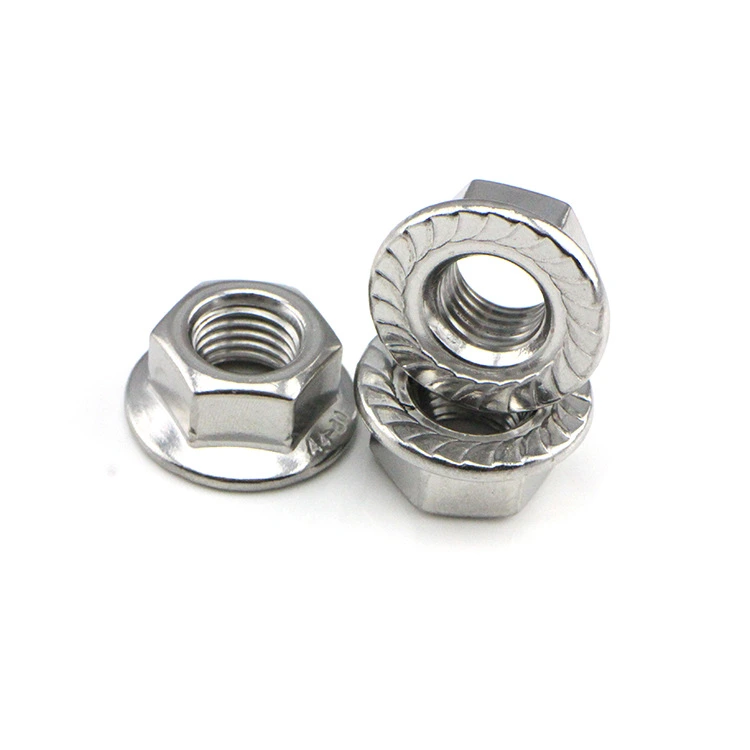
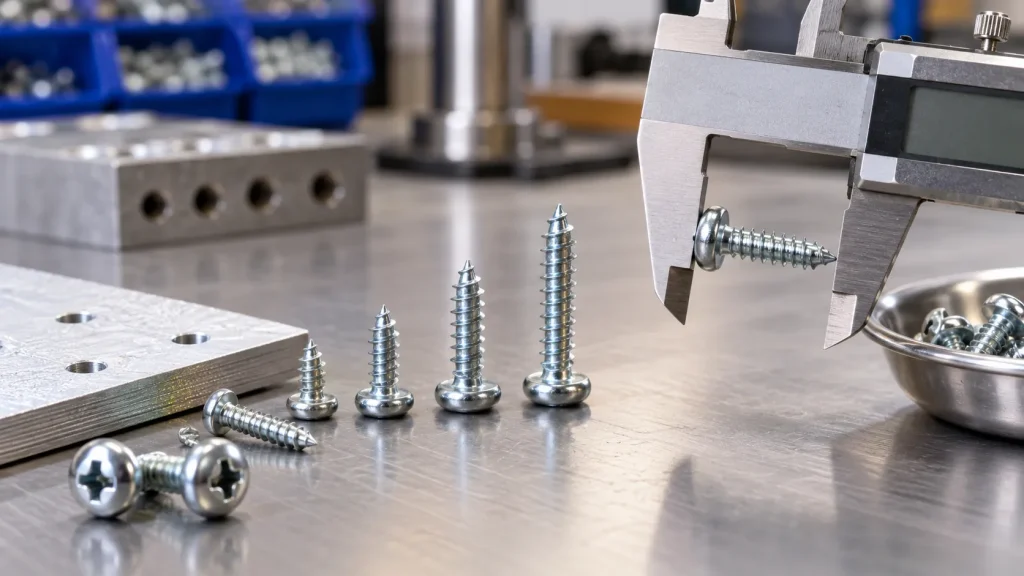
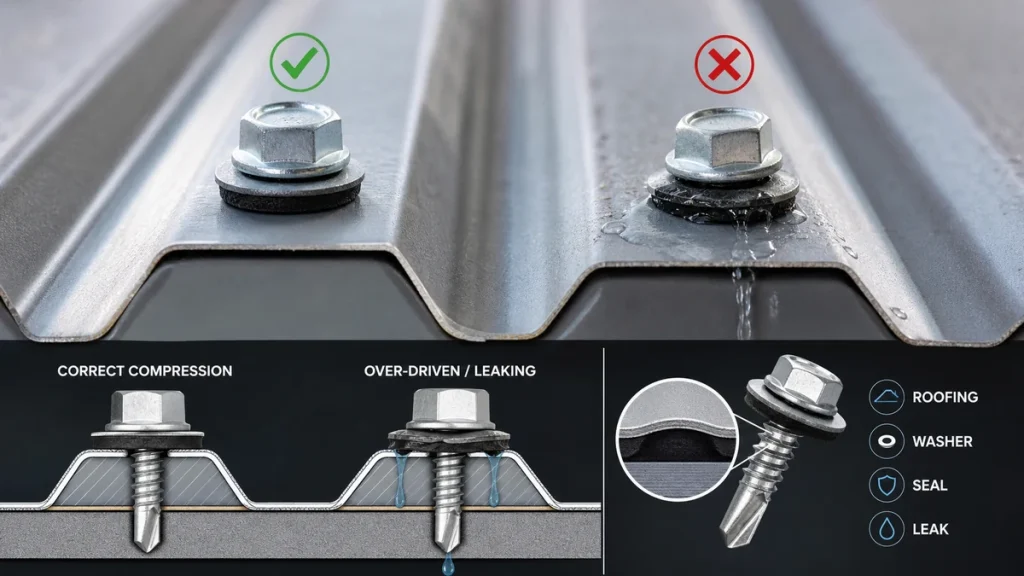
Check the head shape and dimensions against the mounting surface and clearance around the fixing. |
The head must seat securely without standing proud, interfering with nearby parts, or creating an easy grip for tools. |
Ask for a dimensional drawing or sample to confirm the head will sit correctly in the final assembly. |
| Material and surface protection |
Verify the screw material and any coating against moisture, chemicals, outdoor exposure, or indoor conditions. |
The environment affects corrosion risk and can also affect appearance and later removal. |
Describe the installation environment and ask which material or finish is recommended for it. |