The simplest test is to separate the measurement direction. Compare diameters at two or more positions along the axis to identify taper. At one position, measure across different angular directions; the difference between the largest and smallest readings indicates ovality.
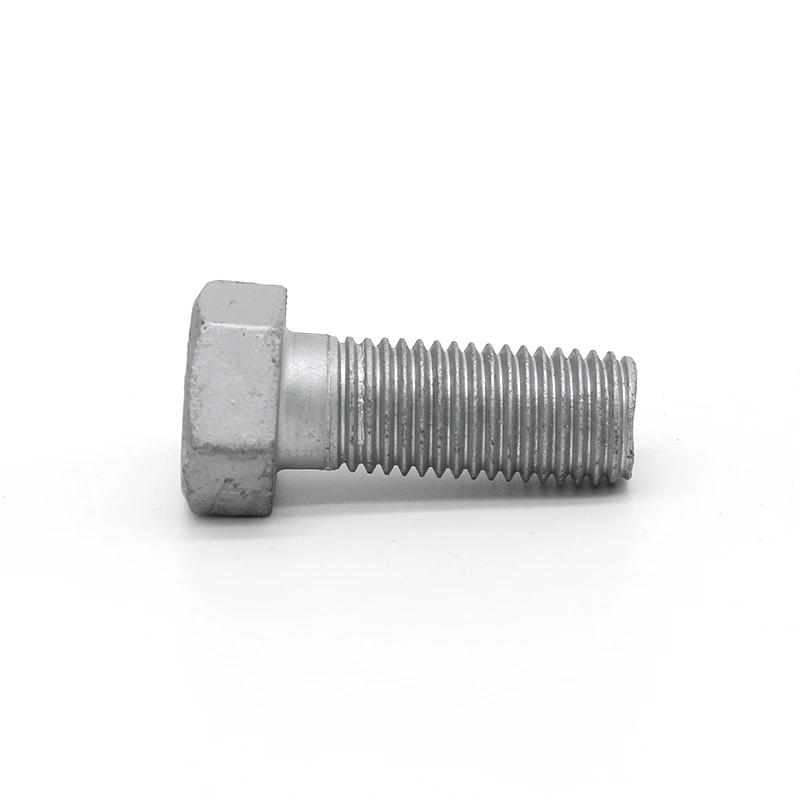
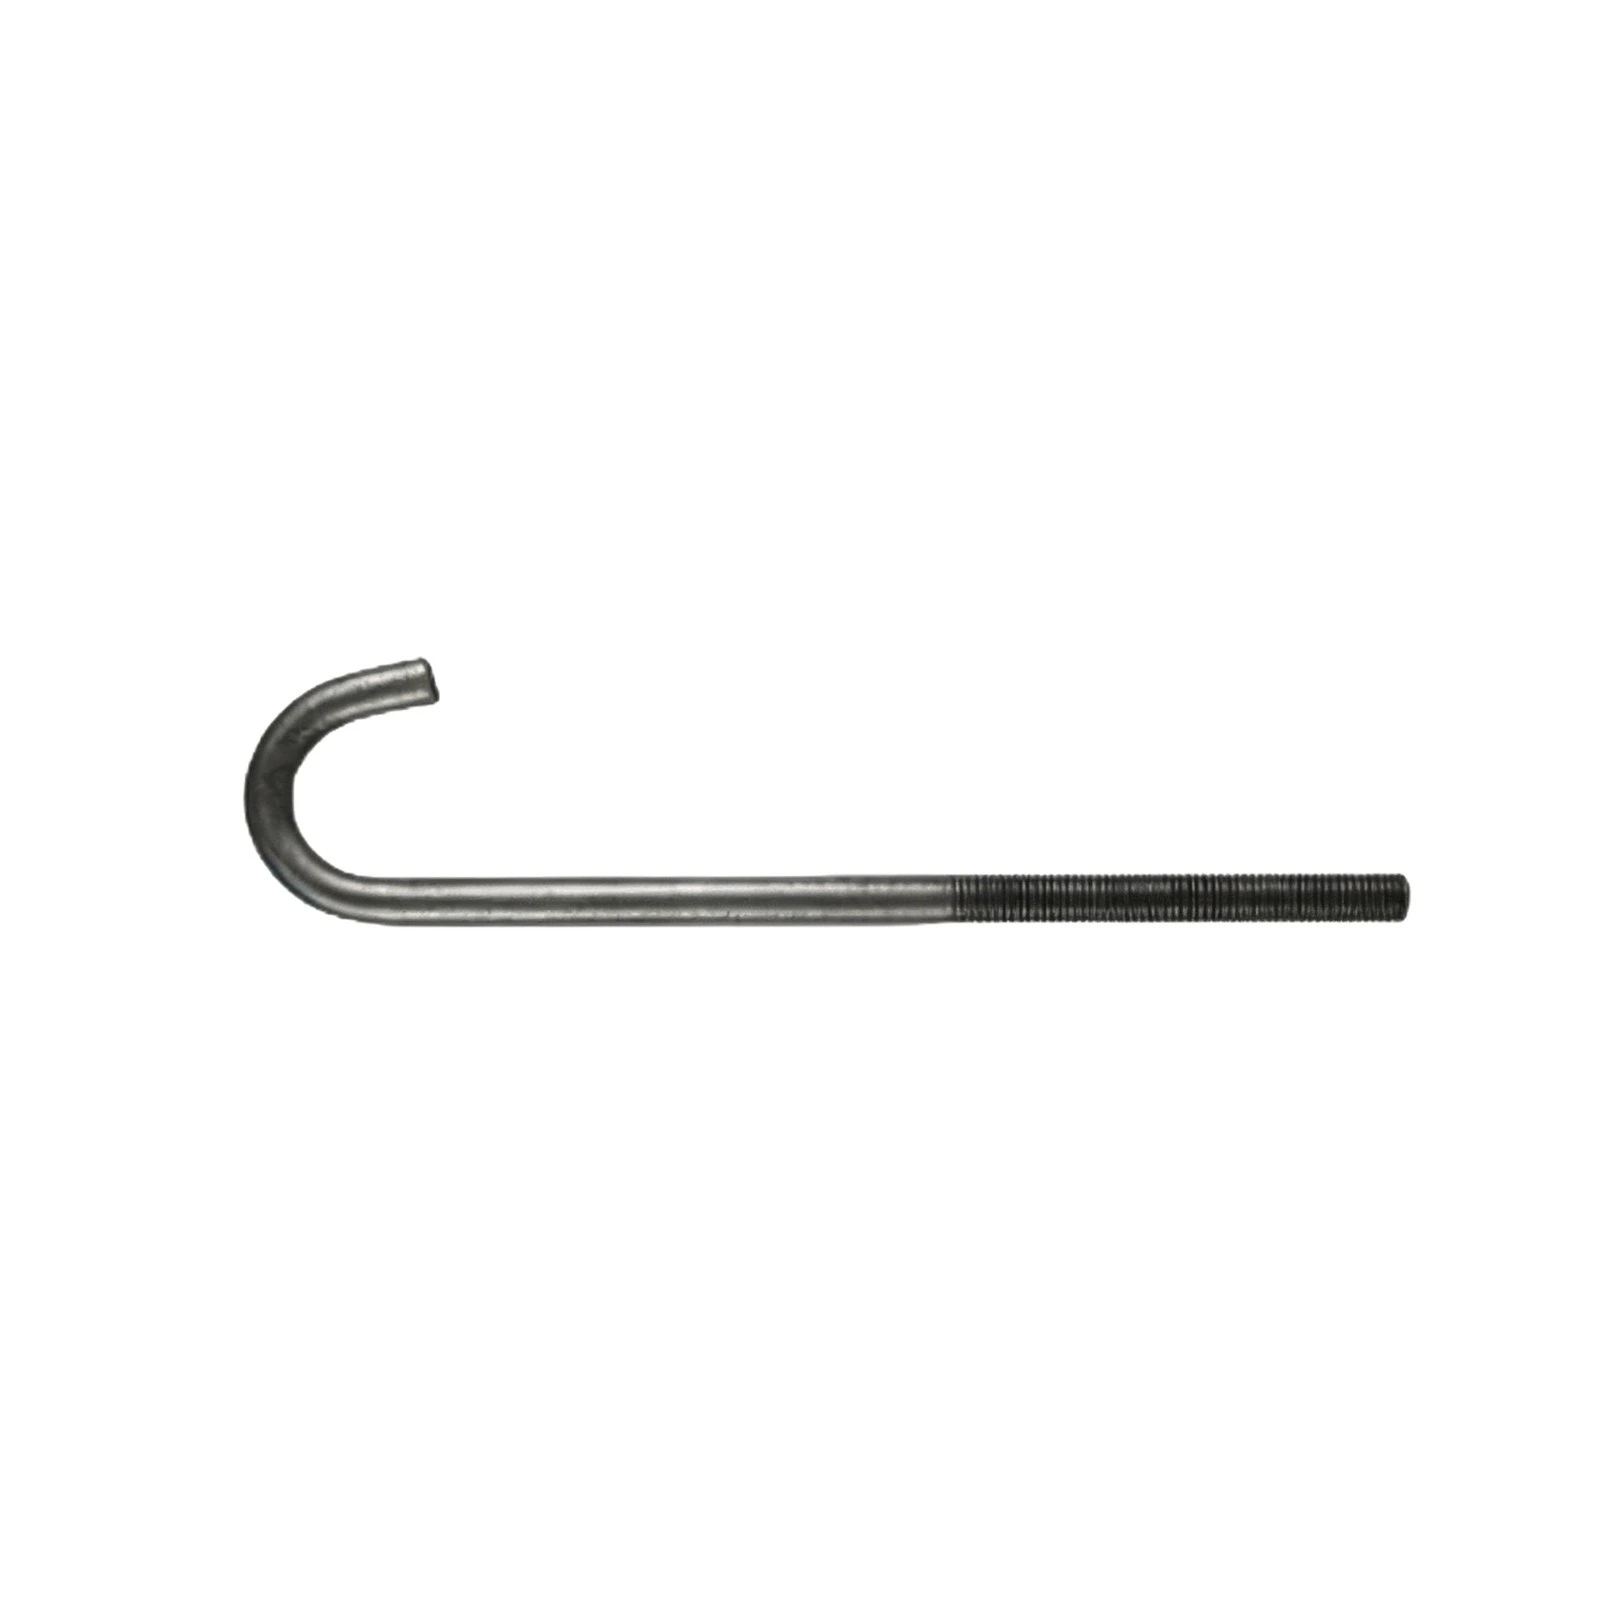
This matters when checking a bolt shank, pin, sleeve, formed wire section, or mating hole. Taper is mainly a change from one end to another, while ovality is a loss of roundness around the same cross-section. A part can have one condition, the other, or both.
Start by defining the functional surface. If the part must slide, locate accurately, seal, or maintain even load transfer, specify whether the controlling requirement concerns the full length, a particular seating zone, or the complete cross-section. A single average diameter does not describe either condition adequately.
Measure taper with readings taken at defined axial positions, and measure ovality with readings taken in more than one direction at each critical position. Keep the measurement method, reference points, and contact locations consistent. Otherwise, differences in inspection technique can be mistaken for part variation.
Do not treat a nominal diameter, visual roundness, or a single micrometer reading as proof that a part is suitable. Also check the mating hole or nut, surface condition, thread engagement where applicable, and the location at which the part carries load. The acceptable limit depends on the fit and function, not on the term alone.
For an enquiry, send the part drawing or a clear dimensional description, identify the critical diameter and functional length, and state whether the concern is sliding fit, alignment, sealing, fastening, or inspection. Ask the supplier to confirm how taper and ovality would be measured and reported for that application.