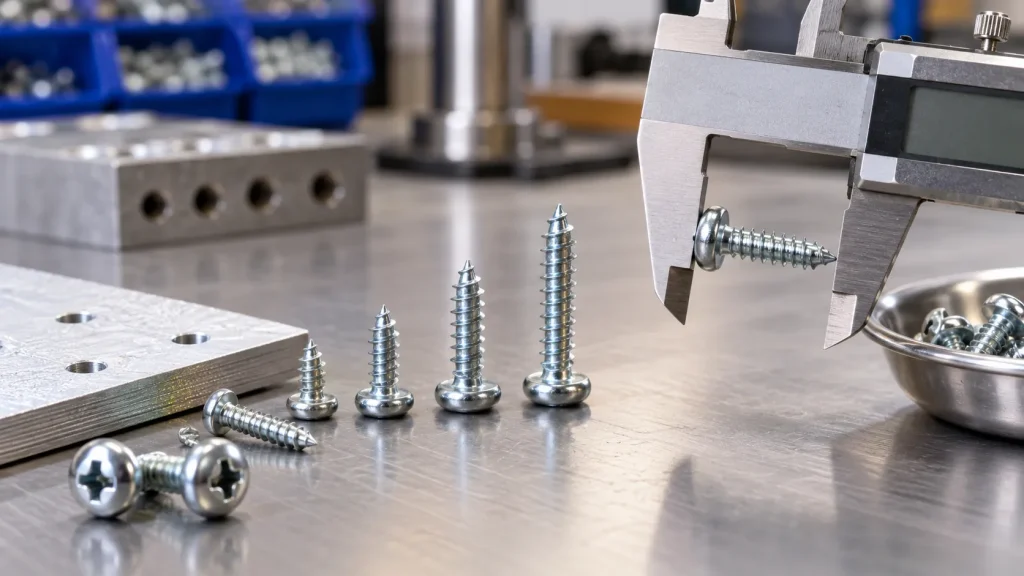
| Drill-point style for the metal gauge |
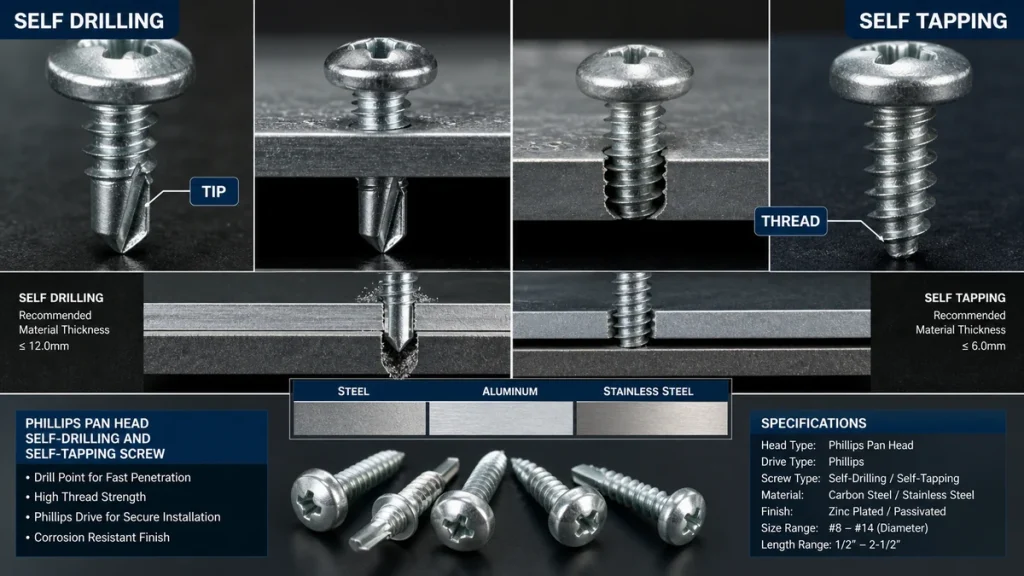
Match the screw point to the combined thickness and type of metal; verify with a drawing or sample. |
A point suited to the material can reduce slipping, pre-drilling, and incomplete hole formation. |
Ask, “What metal thickness range was this point designed to drill, and can you provide a sample for a trial fit?” |
| Thread design and engagement |
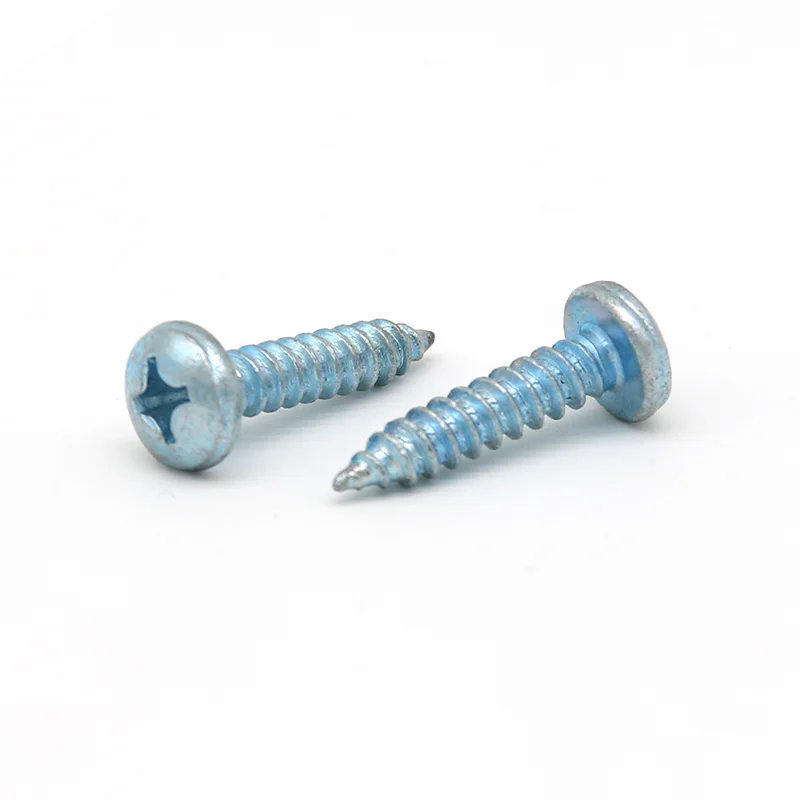
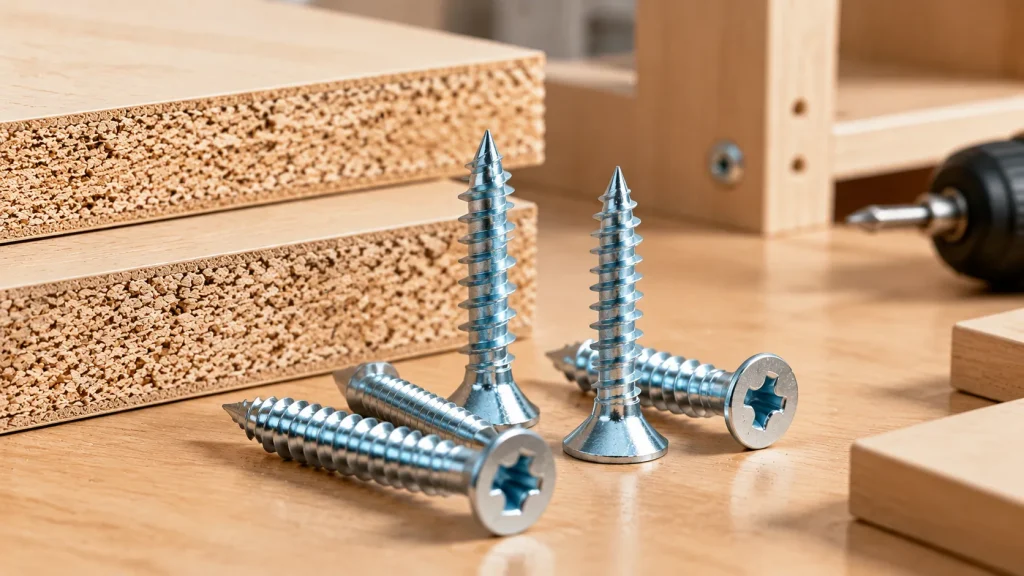
Compare thread spacing, thread length, and the amount of engagement available after the screw passes through the outer sheet. |
Too little engagement can weaken the joint, while an unsuitable thread can damage thin sheet or fail to grip securely. |
Provide the metal thicknesses and ask, “How much thread should remain engaged in this assembly?” |
| Screw length and installed stack-up |
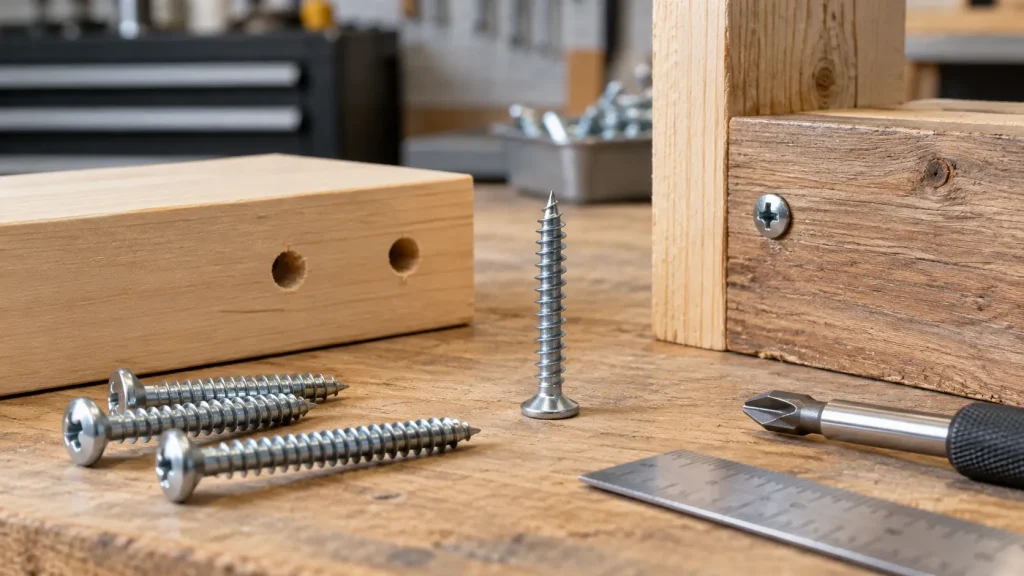
Calculate the total thickness of the sheets, washer, bracket, or other parts, then confirm the usable thread length. |
A screw that is too short may not hold the joint; excessive projection may interfere with nearby parts or create an installation hazard. |
Send the complete layer stack and ask for the recommended length for that joint. |
| Head style and load distribution |
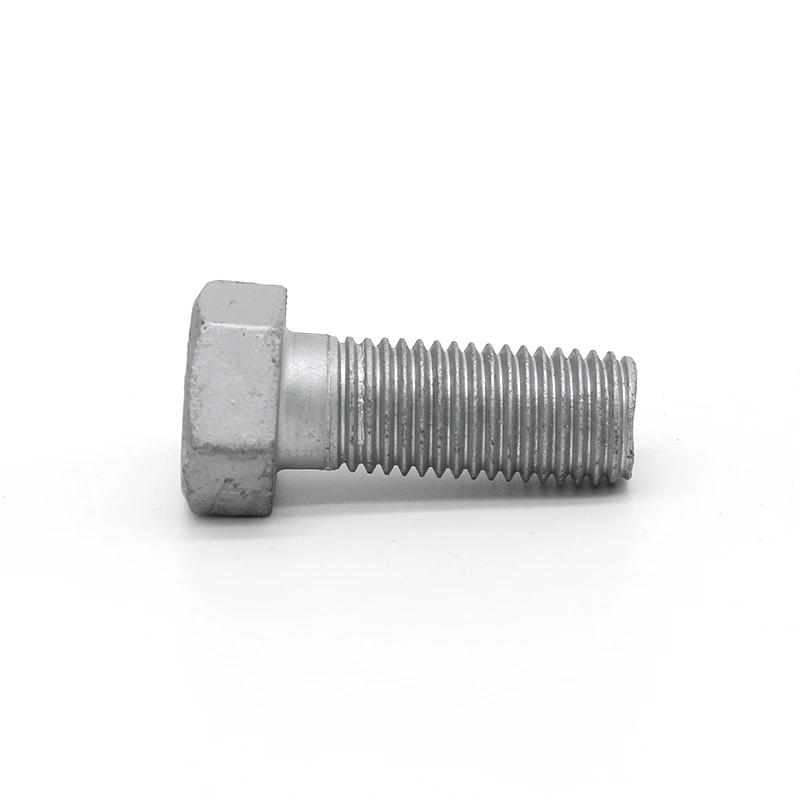
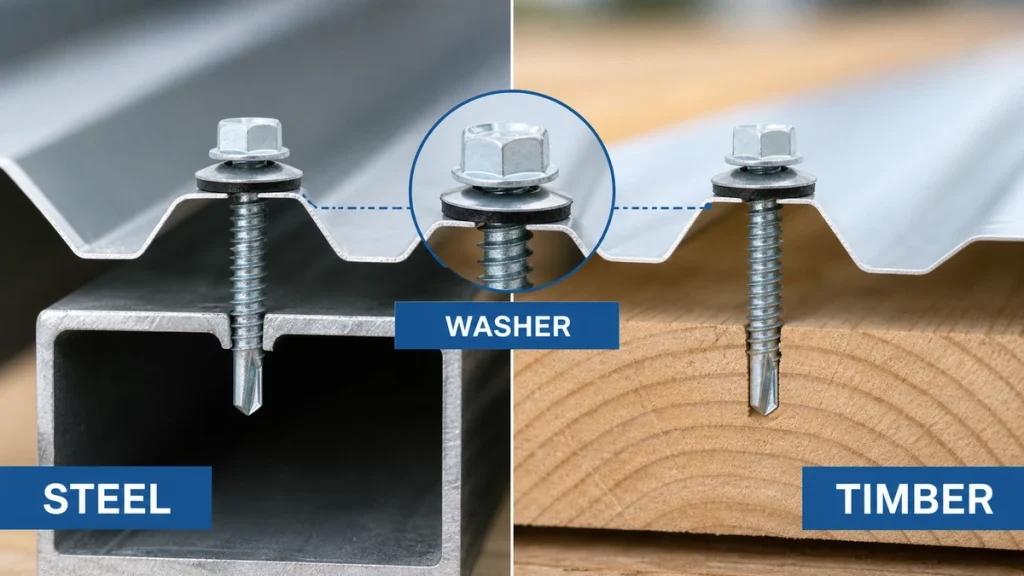
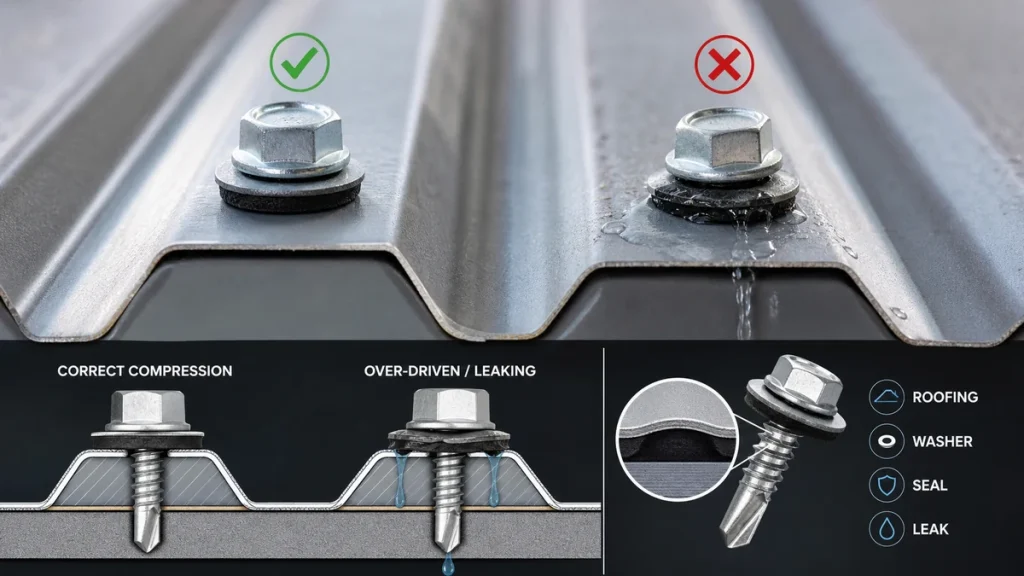
Choose a head that suits the clearance, driver access, and bearing surface of the metal assembly; confirm whether a washer is needed. |
Head geometry affects seating, clamping, pull-through risk, and access for the installation tool. |
Ask, “Should this joint use a hex, pan, or another head style, and what washer arrangement is required?” |
| Corrosion protection for the service environment |
Confirm the screw material and coating, then compare them with indoor, outdoor, humid, or chemically exposed conditions. |
The surrounding environment can affect thread operation, appearance, and long-term joint reliability. |
Describe the installation environment and ask, “Which finish is appropriate, and what compatibility information is available for the mating metal?” |