| Insert type and installation method |
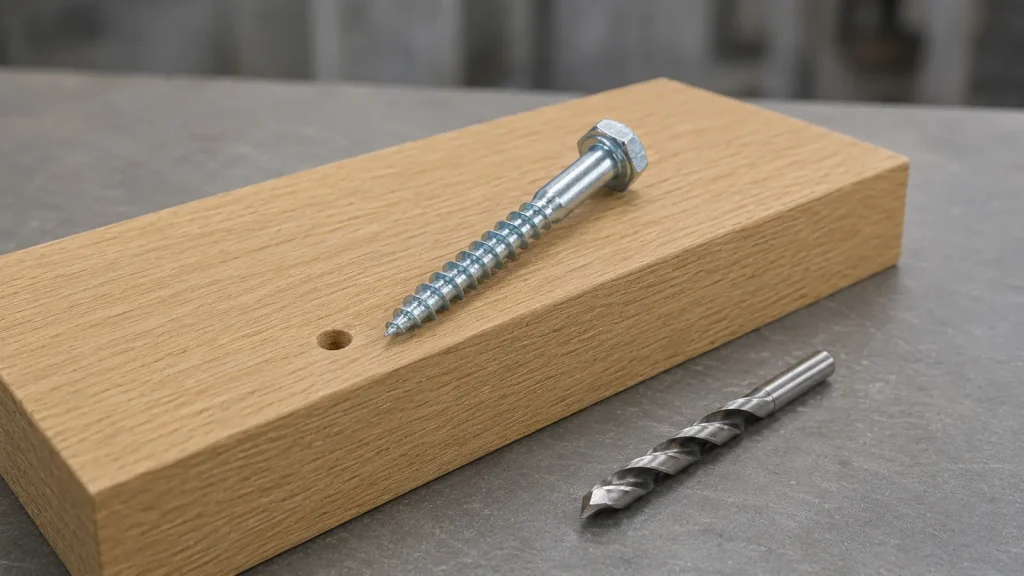
Confirm whether the design uses self-tapping, press-fit, rivet, or another installation method, and match it to the available access and tooling. |
The installation method affects assembly time, hole preparation, backside access, and the risk of damaging the aluminum. |
Ask: Which insert type is recommended for this aluminum part, and what installation tool and process does it require? |
| Thread size, length, and engagement |
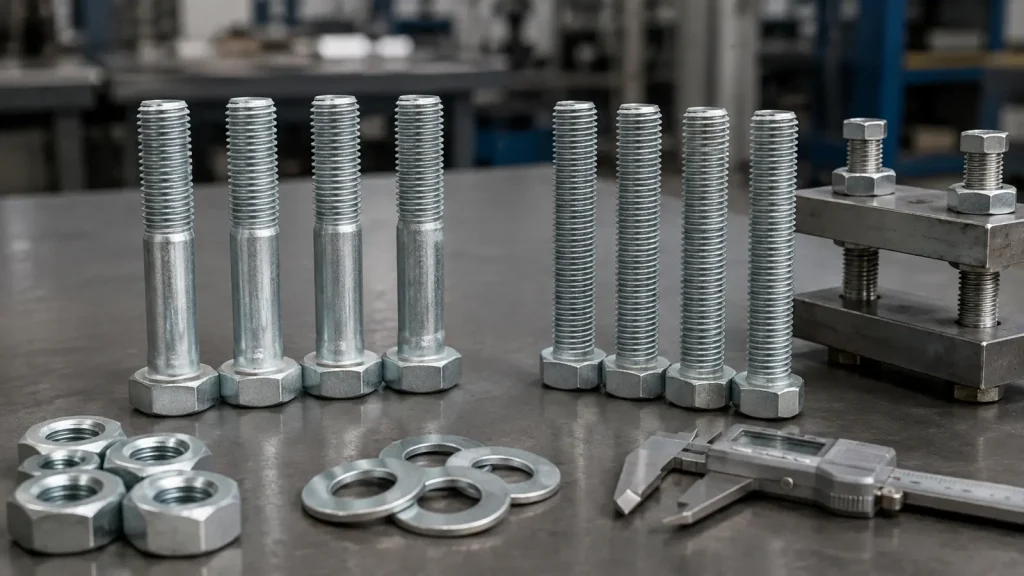
Compare the internal thread, insert length, and usable thread engagement with the mating fastener and joint thickness. |
Too little engagement can reduce joint strength; an insert that is too long may interfere with a cavity, thin wall, or opposing surface. |
Send the fastener thread, joint thickness, available hole depth, and required clamping position for confirmation. |
| Hole size and parent-material limits |
Verify the required drilled or molded hole diameter, tolerance, edge distance, and minimum surrounding aluminum thickness. |
An incorrect hole can leave the insert loose, split a thin section, or remove too much material around the joint. |
Ask for the approved hole-size range and a drawing showing the minimum wall and edge distances. |
| Insert material and surface finish |
Check the insert material and finish against the aluminum alloy, moisture exposure, temperature, and any other metals in the joint. |
Material pairing and surface condition can affect corrosion risk, galling, and long-term service behavior. |
Ask which insert finish is recommended for the specific aluminum alloy and operating environment. |
| Installation and retention performance |
Request applicable installation guidance and test information for seating, thread formation, pull-out, or torque performance in the intended aluminum substrate. |
A suitable insert must remain secure during fastening and service, not merely fit the hole during assembly. |
Ask what installation torque or setting checks apply and whether validation should use production-grade aluminum samples. |