| Head angle and flush fit |
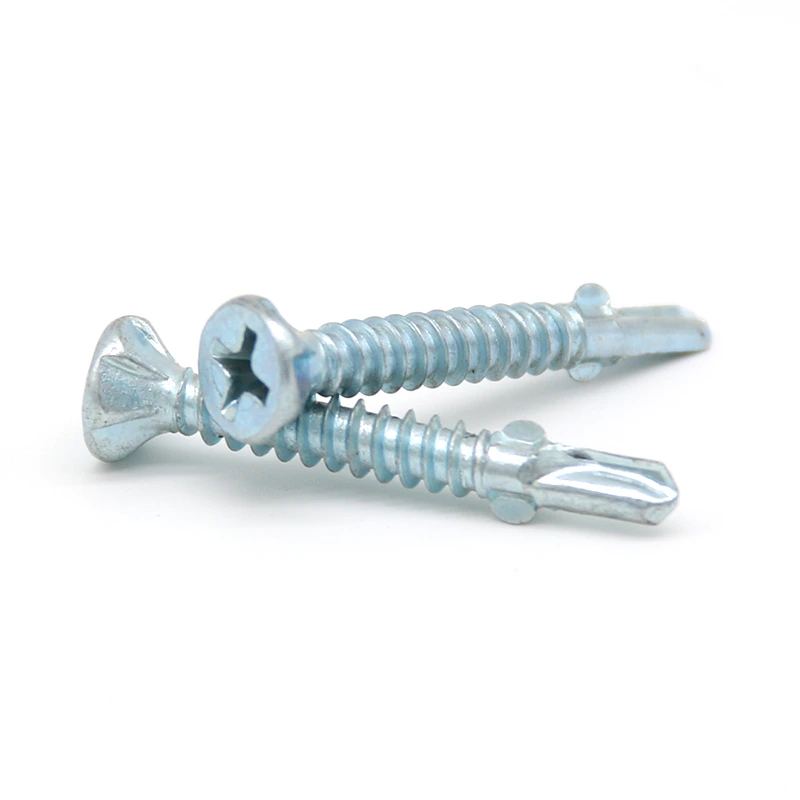
Confirm the countersunk head angle matches the mating part or countersink, then test whether the head sits flush without splitting or crushing the surface. |
A mismatch can leave the head proud, create a weak seat, or damage the workpiece during tightening. |
Ask which head angle is supplied and request a sample for a flush-fit trial in your actual material. |
| Screw length and thread engagement |
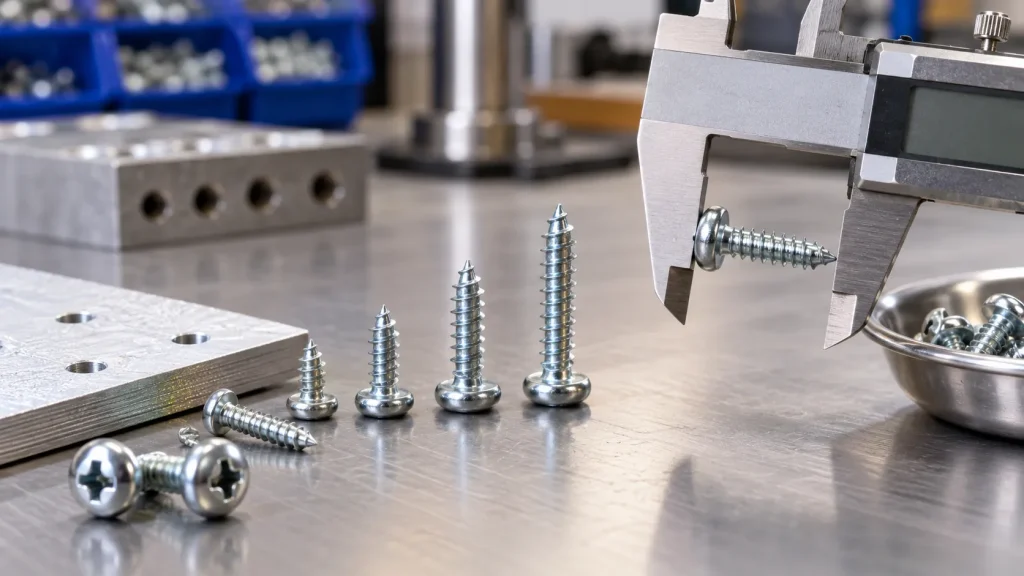
Measure the combined material thickness and confirm the screw length leaves enough thread in the base material without protruding through it. |
Too little engagement can reduce holding power, while excess length may damage the hidden side or interfere with nearby parts. |
Send the material stack-up and ask the supplier to recommend the usable length range. |
| Thread form for the application |
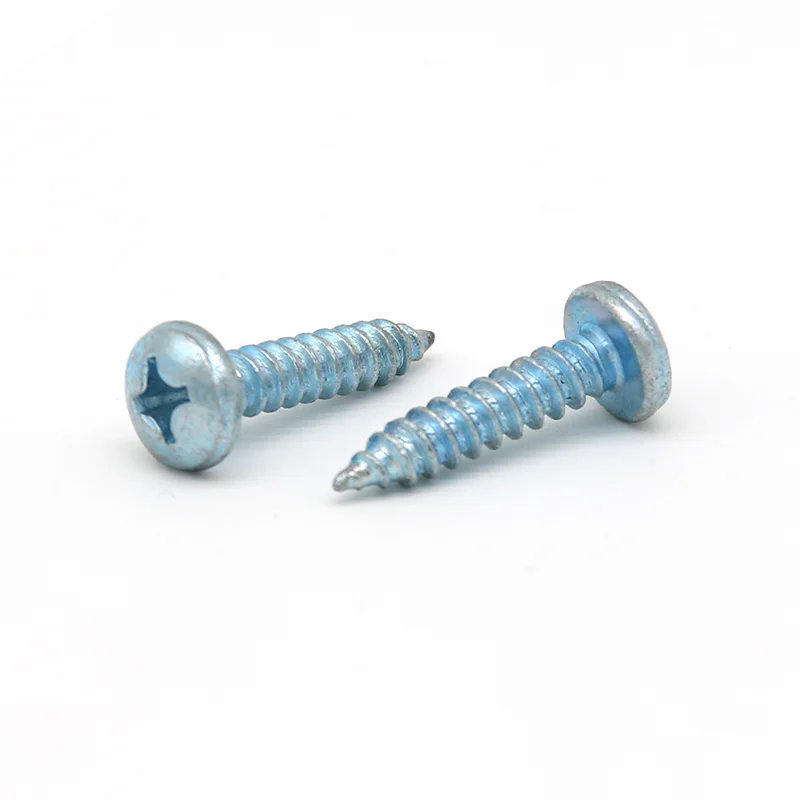
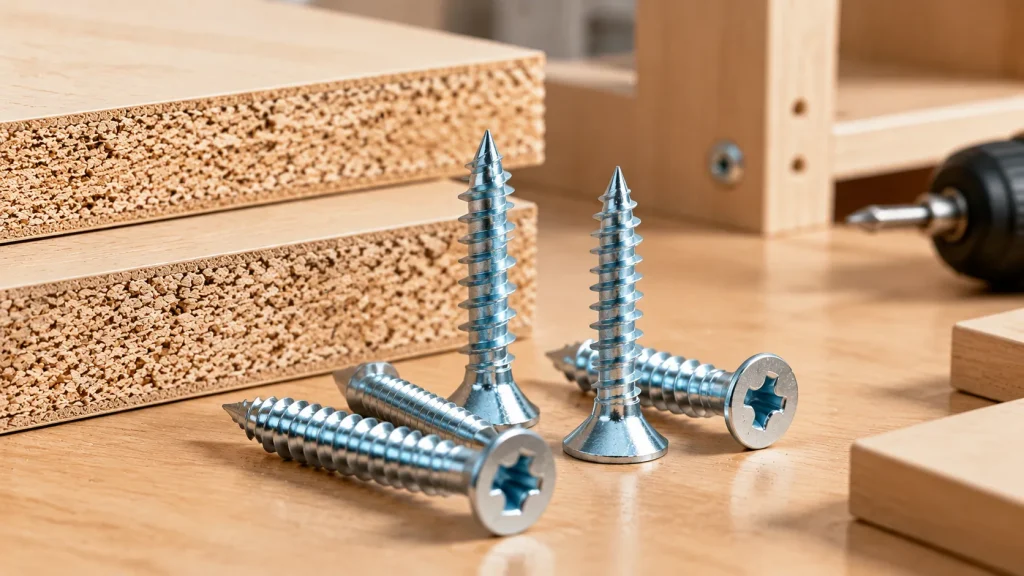
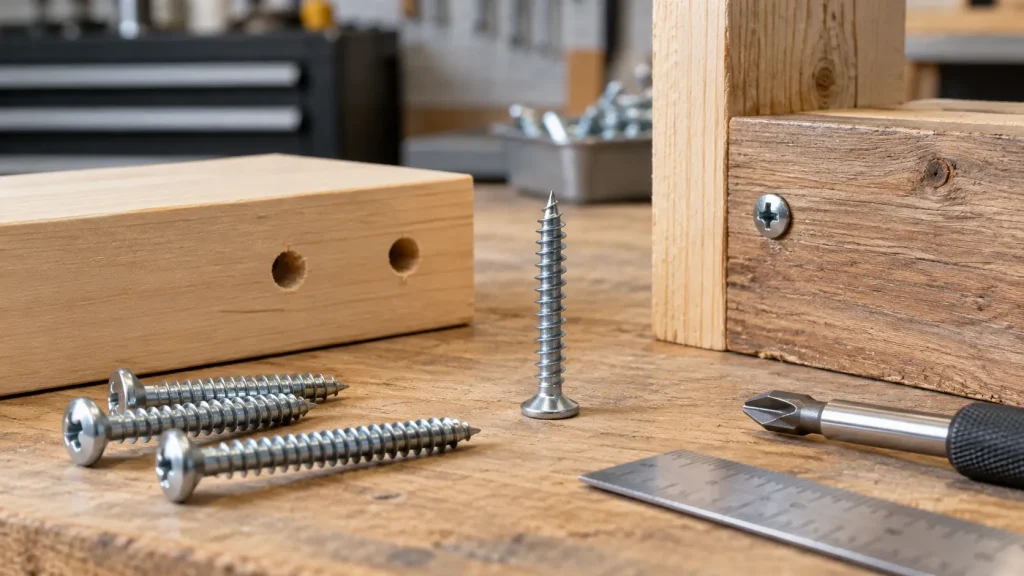
Compare the thread type and pitch with the substrate, such as timber, fiberboard, plastic, or a pre-tapped metal hole. |
The thread must form or engage the hole without excessive splitting, stripping, or installation torque. |
State the substrate clearly and ask whether a pilot hole or a thread-forming design is expected. |
| Drive style and installation access |
Verify the drive recess, matching bit, and available clearance around the screw head; check sample screws for bit engagement and cam-out risk. |
A suitable drive improves installation control and reduces damaged heads, especially in recessed or high-volume assembly. |
Ask for the drive type and recommended bit, then trial it with the intended tool and fastening angle. |
| Material and surface finish |
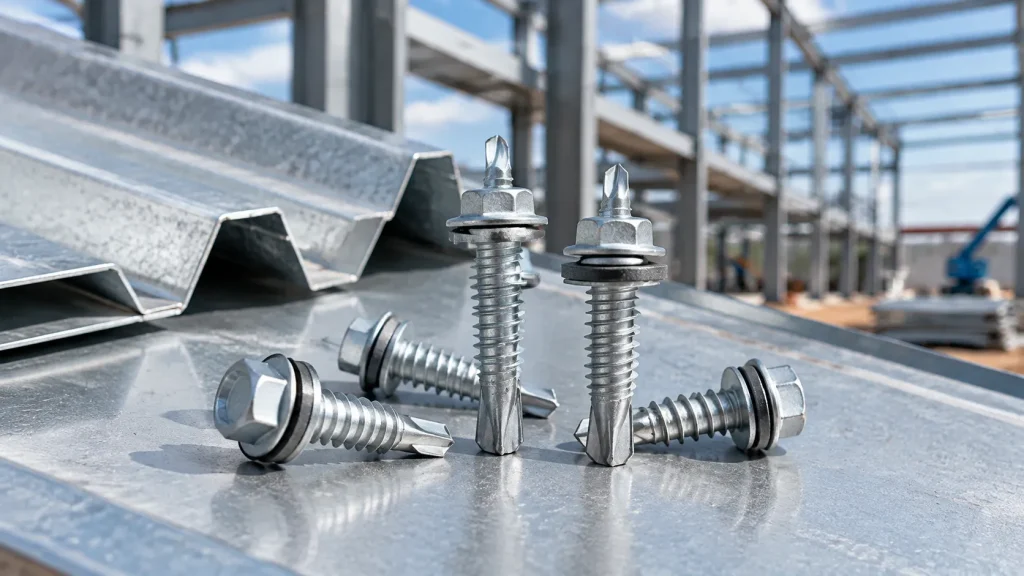
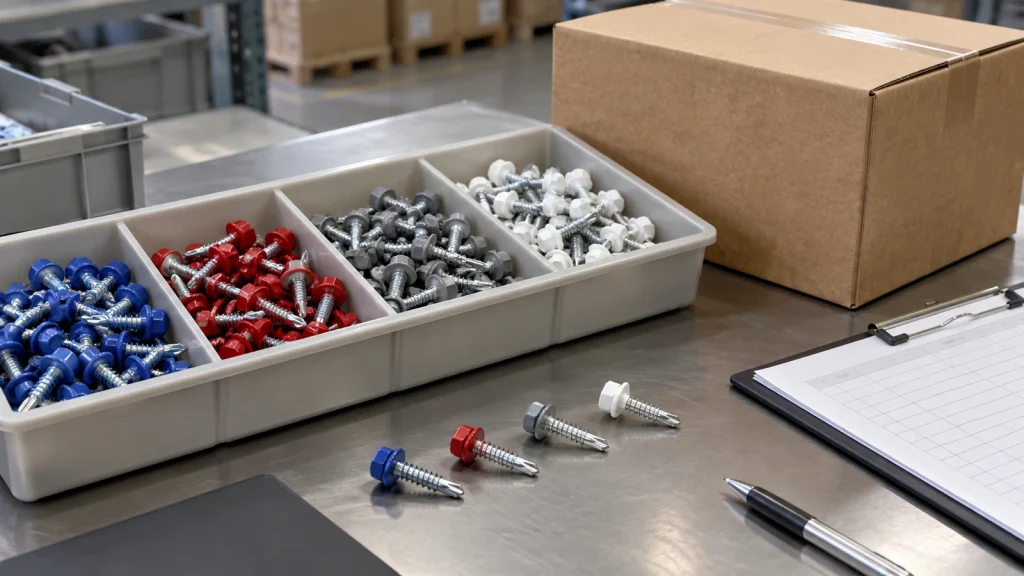
Confirm the base material, coating or plating, appearance, and intended exposure, then review any available compatibility or corrosion information for the assembly. |
Material and finish affect corrosion behavior, appearance, and compatibility with the joined materials or environment. |
Describe indoor, damp, outdoor, or chemically exposed use and ask which finish is appropriate for that condition. |