| Wall material match |
Confirm whether the anchor is intended for drywall, plaster, brick, concrete, block, or hollow wall use. |
Plastic wall anchors grip differently in soft board, dense masonry, and hollow cavities. A mismatch can spin, crack the wall, or pull out under load. |
Ask: which wall materials has this anchor style been designed for, and are different plug shapes recommended for masonry and drywall? |
| Screw and anchor compatibility |
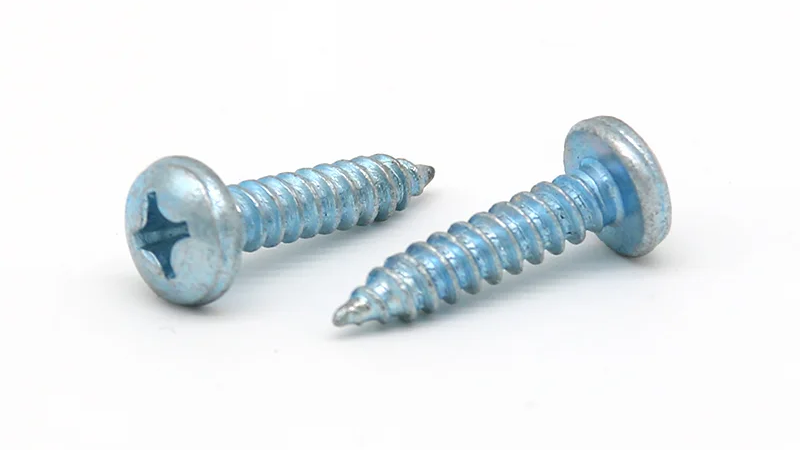
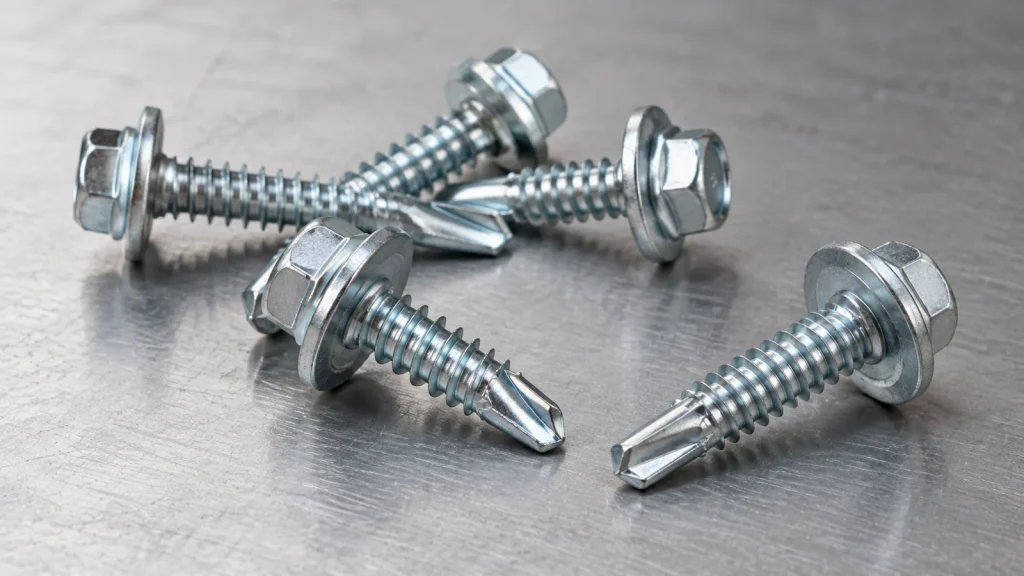
Compare the recommended screw diameter and length with the anchor size, head style, and fixture thickness. |
A screw that is too small will not expand the anchor fully; one that is too large can split the plug or damage the wall. |
Ask for the matching screw size range and confirm whether screws are supplied or need to be purchased separately. |
| Load direction and application |
Identify whether the fixing will carry light vertical loads, outward pull, vibration, or repeated use. |
A small plastic plug may work for a light bracket but not for shelves, curtain hardware, cabinets, or items that may be pulled away from the wall. |
Describe the item being fixed and ask which anchor type is suitable for that load direction and use case. |
| Anchor shape and expansion design |
Look at whether the anchor has ribs, wings, split sections, or a tapered body, and how it expands as the screw is driven in. |
The body design affects anti-rotation grip, holding strength, and how easily the anchor installs without crushing or slipping. |
Ask whether the plug has anti-spin ribs and whether it needs a specific drill hole size for proper expansion. |
| Installation conditions |
Check the required drill bit size, hole depth, surface condition, and whether the anchor sits flush with the wall. |
Most failures come from oversize holes, dusty masonry holes, shallow drilling, or anchors not seated correctly before the screw is tightened. |
Ask for the recommended hole diameter, drilling depth, and installation steps for the wall type you are using. |