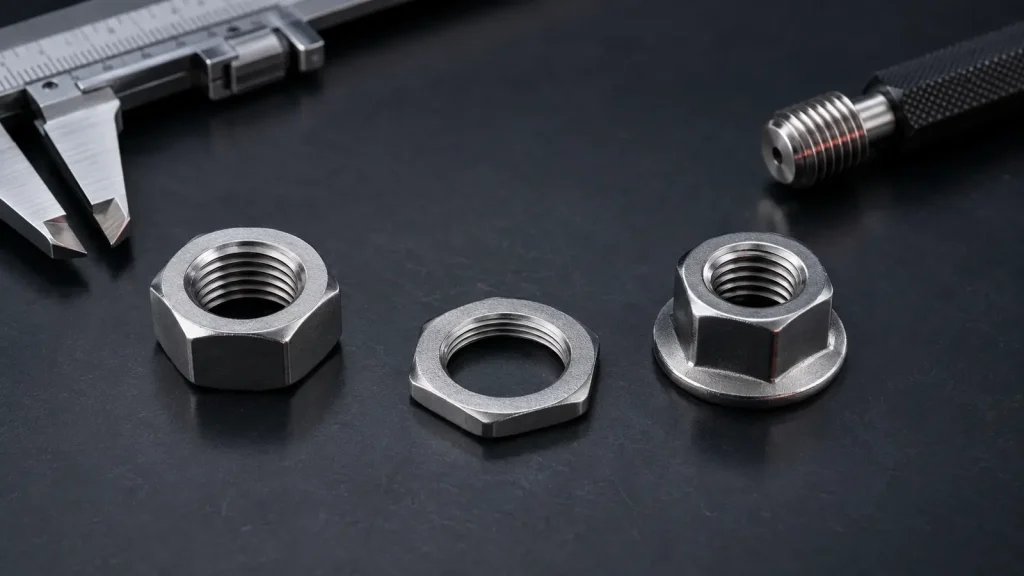
A hex weld nut differs from a loose hex nut because it becomes a permanent part of the assembly after welding. That makes it useful inside panels, brackets and boxed sections where a worker cannot reach the rear side to hold a nut during fastening.
The practical trade-off is between installation convenience and welding requirements. Before ordering, confirm whether the part should use projections, a flat weld base or another attachment design, and check how the weld area will affect the surrounding coating, finish and sheet material.
Match the thread and mating hardware. Specify the thread form, nominal size, pitch and tolerance together with the bolt or screw that will enter the nut. Do not mix metric and inch threads, or assume that a nominally similar thread will assemble correctly. If the assembly uses a defined drawing or fastener standard, send that reference for confirmation.
Check the weld interface. The nut's base and any projections must suit the parent sheet, welding equipment and available access. Thin sheet may distort or burn through, while an unsuitable weld area can leave the nut misaligned. Confirm the parent material, sheet thickness range, welding process and whether the nut will be attached before or after coating.
Consider access, alignment and service loads. A hex body helps resist rotation, but the assembly still needs adequate seating and thread engagement. Review the bolt approach direction, hole position, clearance for tools and the expected tightening or removal cycle. For panels that may be serviced repeatedly, ask how thread damage and weld attachment strength will be controlled.
Freeze finish and inspection details before production. State the material, surface treatment, corrosion environment, acceptable visual condition and any inspection or sample-approval requirements. A useful next step is to send a drawing or marked-up sketch showing the nut location, sheet material and thickness, mating fastener and estimated order quantity, then ask which hex weld nut design is compatible.